Happy Tuesday y’all!
I recently decided that I needed to get a hobby. Tyler lives 1,061 miles from me and living in small town can get a little boring. Enter my friend Kathryn and an antique side table. Kathryn convinced me that I should start flipping furniture with her and when I found this little antique beauty at a garage sale for $8, I decided to give it a go. For this being my first project on my own, I’m actually very surprised (and happy!) with how it turned out. So much so, that I thought I should share my DIY instructions on how to strip, sand and stain so you all can do it too.
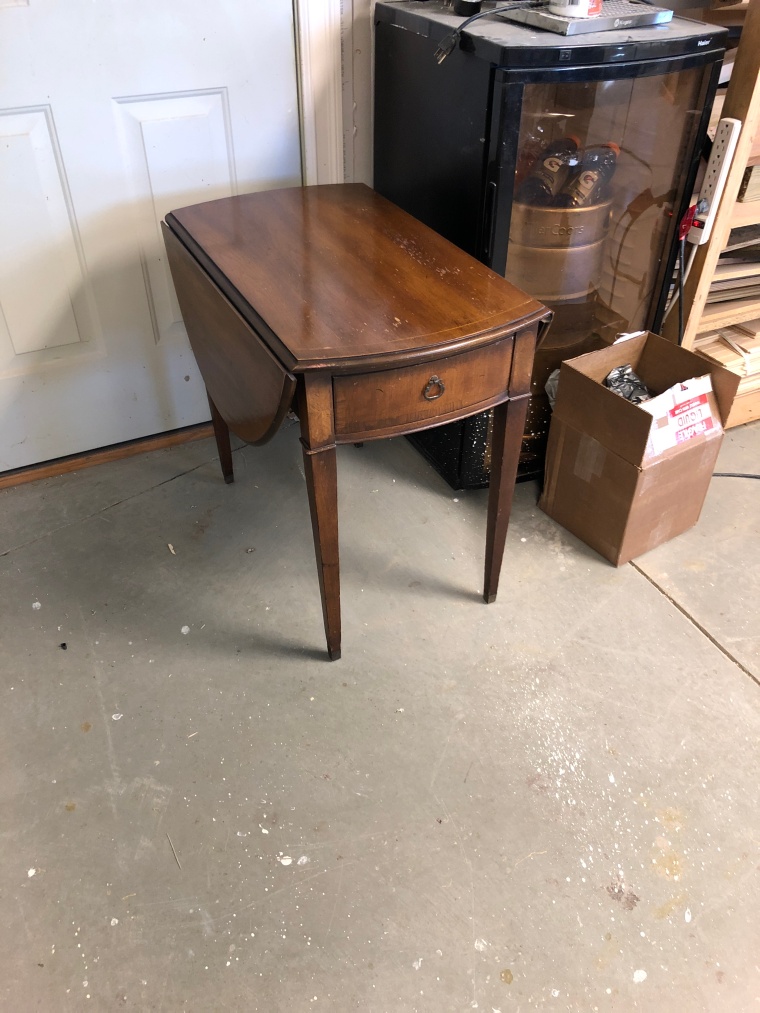
First, here is my before photo… YIKES. It was in rough shape! Scratches on the top, chunks out of the stain and finish. Nothing a little love can’t fix though.
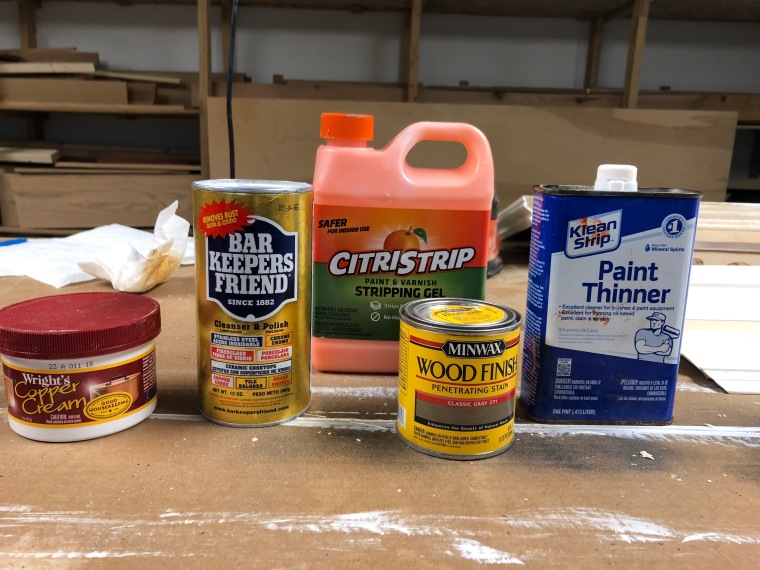
 Here is everything you will need for this project! (Except the gloves! Please don’t forget to wear chemical resistant gloves!)
I started out by stripping the stain by using CitriStrip. Make sure you put on some chemical resistant gloves before you begin! Paint that orange goo on nice and thick and let it sit for 15-30 minutes. I highly recommend putting some thick plastic underneath the piece you’re working on because this stuff is no joke and will ruin your floors, shoes, clothes, etc. Once you’ve let the goo do its work, it’s time to bust out a putty knife and some steel wool. Start with the putty knife and just start scraping the CitriStrip off of your furniture, it should come right off and will take the old stain off with it. I like to use the steel wool for more decorative edges that the putty knife can’t get.
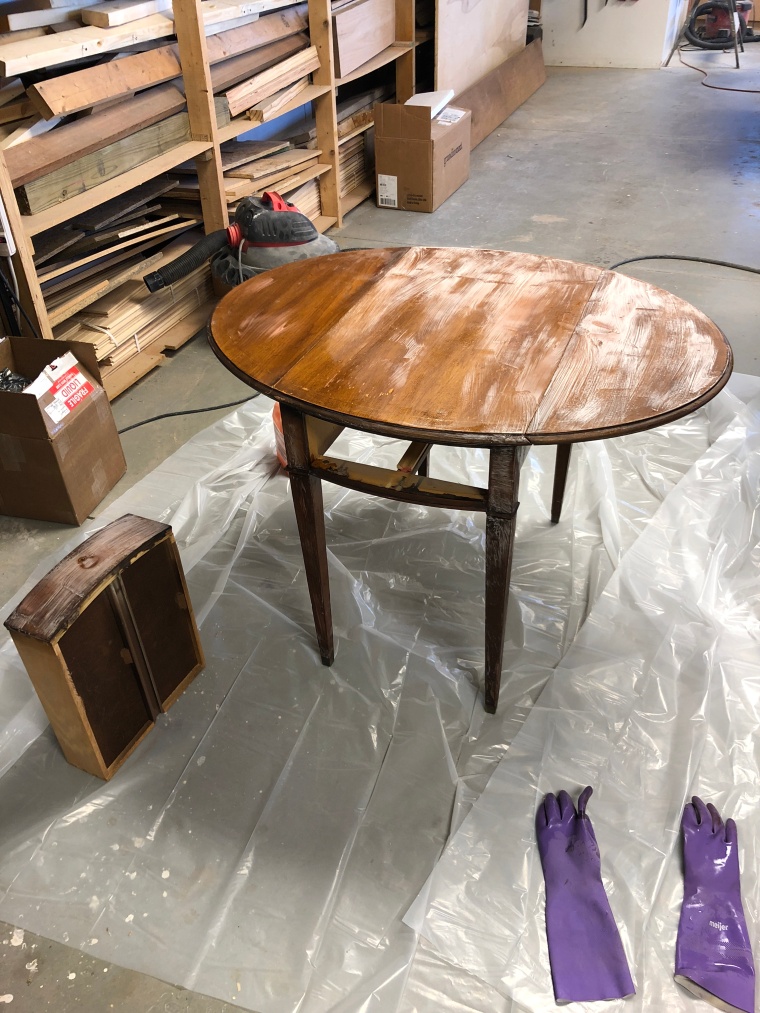
Woo! Glad that’s over. I swear stripping furniture is the worst part!
Now, take your paint thinner/mineral spirits and wipe down your entire piece. This will help you to get all the leftover CitriStrip and stain off.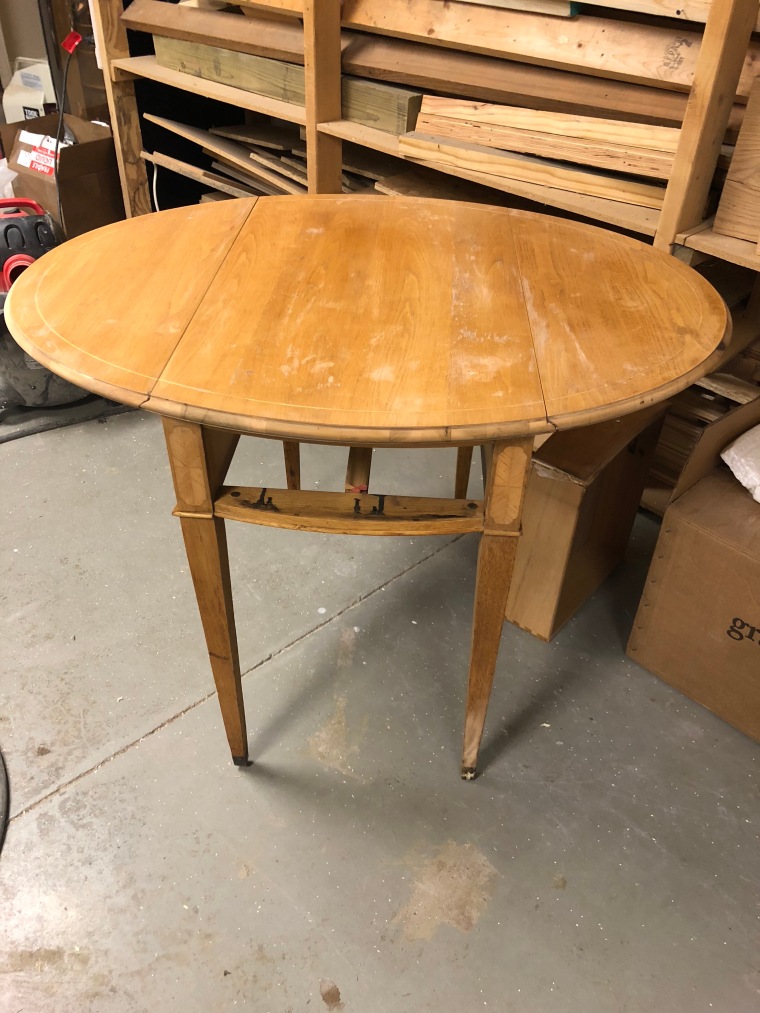
After all of that, it’s time for the fun stuff… POWER TOOLS. If you don’t have a hand sander, I highly suggest you get one because this made things go so much faster! I used very fine sandpaper on my hand sander and it worked out perfectly. You will have to do some manual sanding on the legs or any smaller edges.
Again, wipe down with paint thinner/mineral spirits to remove any dust or CitriStrip you may have missed.
My table had tiny little metal feet that were completely tarnished. I spent all of this time fixing up the wood that I could not just leave them the way they were. I was never able to get them completely back to the gold, but Wright’s Copper Cream was a Godsend. I just wiped it on the legs with the sponge, let it sit for a few minutes, then wiped them off with a damp cloth!
After that has dried, it’s time to start staining. I decided on this Classic Grey Minwax stain. I used a rag to wipe the stain onto the table. If you’re staining a bigger piece, I recommend working in sections. I let the stain sit for about 15 mins (if you don’t want your piece as dark, you can wipe it off sooner!) For some reason, this wood did NOT want to stain. I ended up putting a second coat on and just letting it dry without wiping it off. If your furniture takes the stain well, I don’t recommend this! However, I didn’t have a choice and then I had to wait a week for it to dry completely.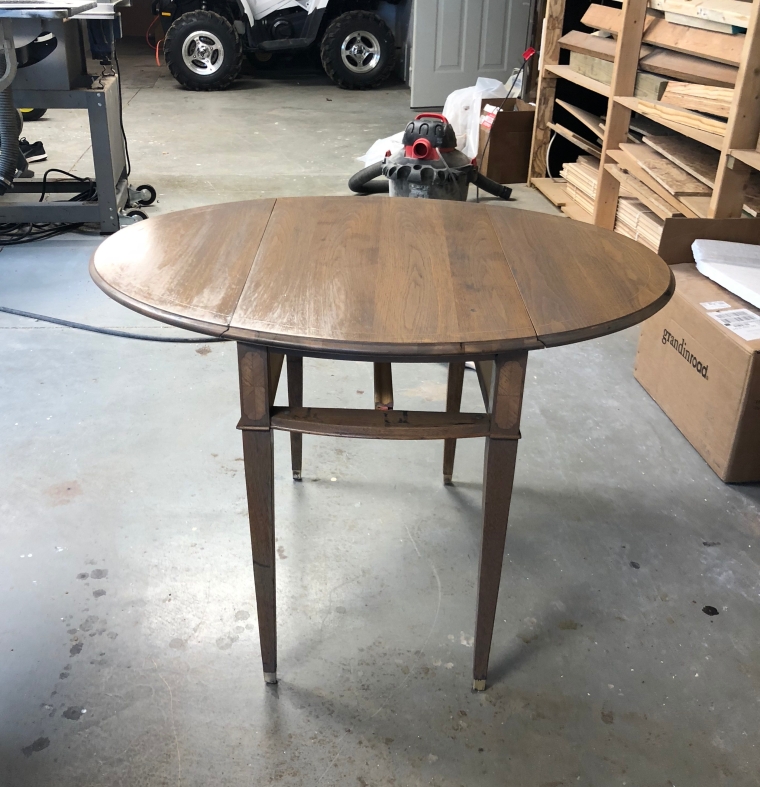
I promise we are almost done! To ensure that your furniture is durable and sealed, you’ll want to use a really good top coat. I was torn between using the Minwax Polycrylic Protective Finish in matte or in the satin. I think either would be fine but I ended up going with the matte. I didn’t include this in the picture above but here is the product I ended up using! 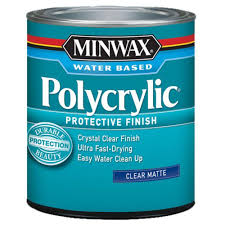
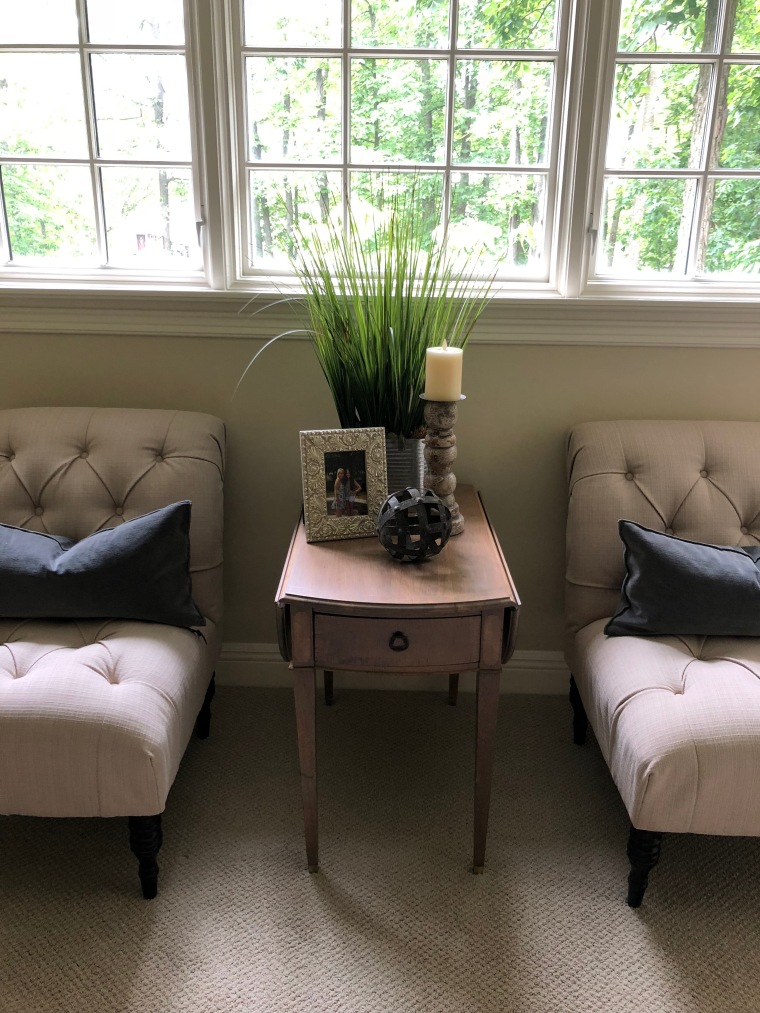
Let the Polycrylic dry for about a week before really using your piece and then ENJOY it!
Let me see your favorite furniture re-vamp projects!!